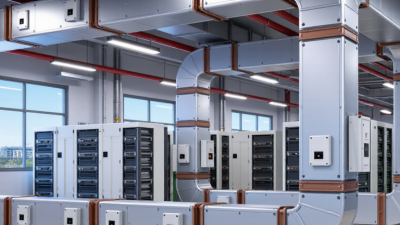
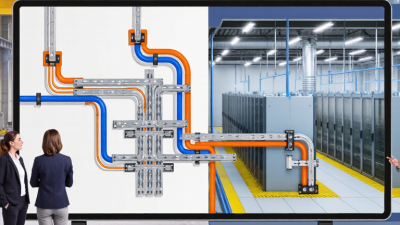
How to Choose a Busway Trunking System for Your Project
Choosing a Busway Trunking System is a practical design decision, not just a product comparison. It affects capacity, installation space, future expansion, and maintenance access. Electrical power systems engineer Dr. Elena Morris puts the key question this way: “Choose for the load you have, and the changes your building may face.” That is a useful principle, though no single system fits every project.
Start with the site. A factory with overhead cranes has different routing needs from a hospital corridor or a compact commercial riser. Map the route, measure clearances, and note bends, fire barriers, and equipment connection points. Then check the expected load, fault level, voltage drop, enclosure rating, and environmental conditions. Small details matter. A poorly placed tap-off can make routine maintenance awkward.
The right choice should also reflect installation and operating realities. Compare conductor material, joint design, protection options, and the availability of compatible accessories. Ask how sections will be lifted and connected; a tight ceiling void can turn an easy drawing into a difficult installation. Consider spare capacity, but avoid paying for expansion that has no credible basis. That judgment can be imperfect. Recheck it with the project’s electrical designer and the manufacturer’s technical documentation. A careful selection process helps the Busway Trunking System serve the building reliably, while keeping future changes manageable.
Define the Project’s Electrical Distribution Requirements
A busway trunking system should begin with the project’s actual electrical demand, not a catalog rating. Record the supply voltage, phase configuration, expected peak load, and the equipment each section will serve. A workshop with several motors starting together has different demands from an office with steady lighting and plug loads. Check future additions too, but avoid sizing around vague possibilities alone. That can add cost without solving a real need.
Tips: Build a simple load schedule. Note each major load, its location, operating hours, and whether it runs at the same time as other equipment. Confirm the available fault current and required protection with the project’s electrical engineer.
Then map the distribution route and mark every tap-off point. Long runs, ambient heat, grouped services, and installation conditions may affect the usable current rating. Allow for the load at each section, rather than treating the entire busway as one uniform demand. It is easy to overlook a future machine near the far end. That detail deserves another check. Have a qualified engineer verify voltage drop, short-circuit withstand, protection coordination, and applicable project requirements before the system is specified.
Compare Busway Types, Ratings, and Configurations
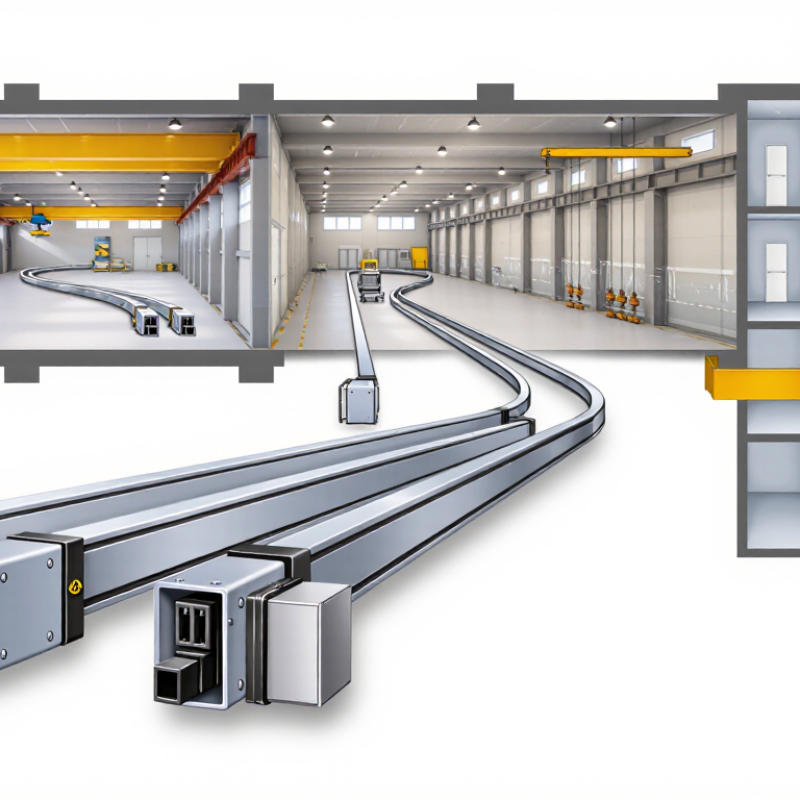
Compare busway types by how power will be used, not by appearance alone. Feeder busway carries power between major distribution points; plug-in busway adds tap-off outlets along a route. Sandwich construction is compact, while air-insulated designs may suit different thermal or maintenance needs. Check the project’s installation conditions and approved product data before selecting either type. Small detail, big impact. A tap-off box must match the busway system and the connected load.
Ratings need equal attention. Confirm rated current, operating voltage, short-circuit withstand, and enclosure protection for the actual environment. A dusty plant room or damp service area may require a different enclosure rating than a clean electrical room. Review ambient temperature and installation derating too; a 1,000-amp rating does not guarantee that capacity in every layout. Ask a qualified electrical engineer to verify calculations against the load schedule and fault levels. One easy-to-miss point: future loads can change the required rating.
Map the configuration on the drawings, including horizontal and vertical runs, elbows, tees, end feeds, and tap-off locations. Measure clearances around beams and equipment, then check access for installation and maintenance. A neat route on paper may clash with a sprinkler pipe in the ceiling. Leave room for expansion where practical, but avoid paying for capacity the project cannot use.
How to Choose a Busway Trunking System for Your Project
Compare representative current ratings, busway types, and configuration options.
How to read the chart: These are representative nominal current ratings commonly encountered in busway ranges; availability varies by system and applicable standard. They are not a substitute for project-specific sizing.
Choosing a system: Feeder busway carries power between major equipment; plug-in busway adds outlets for distributed loads; lighting busway serves lower-current lighting circuits. Air-insulated and compact sandwich constructions have different space and thermal characteristics. Confirm load current, voltage drop, short-circuit withstand, ambient-temperature derating, and tap-off requirements, then select the conductor material and layout for the installation.
Assess Site Conditions and Installation Constraints
Before selecting a busway trunking route, survey the actual space, not just the drawings. Measure ceiling height, beam locations, corridor widths, and equipment access points. Check whether bends can clear ducts and still leave room for joint access. On site, even a small offset can affect the whole run. Allow space for thermal movement, maintenance, and future tap-offs. Confirm the enclosure’s suitability for dust, moisture, and temperature conditions.
Installation access deserves equal attention.
Can a long section pass through doors, lift shafts, and tight plant-room turns? Can lifting equipment reach the route safely? The Associated General Contractors of America’s 2024 Construction Hiring and Business Outlook survey found that 94% of firms seeking workers reported difficulty filling positions. This does not predict delays on every project, but it supports realistic installation planning and clear coordination with trades. A tidy drawing can still hide a beam clash. Walk the route with the installer, and record uncertain measurements before ordering. That extra check may feel slow; rework is slower.
Verify Safety, Compliance, and Future Expansion Needs
A busway trunking system must suit the site, not just the load schedule. Check the rated current, short-circuit withstand, temperature limits, and enclosure protection against actual operating conditions. A dusty plant room or washdown area may need different protection from a clean electrical room. Small details matter. Confirm that test reports and product documentation match the exact system configuration, including joints and tap-off units. Ask the project engineer to review earthing, protective-device coordination, fire stopping, and support spacing before installation. Requirements vary by location and application, so verify the applicable codes and approvals with qualified local professionals.
Future expansion deserves the same attention. Compare today’s demand with realistic planned loads, then reserve capacity without assuming every spare circuit will be used. Map likely tap-off positions and leave working clearance near them. Check that the route has space for bends, supports, and access panels; a congested ceiling can make later changes costly. Keep the load schedule and installation drawings current. On site, small route changes can happen, and drawings sometimes lag behind them. That is a weakness worth addressing, not ignoring. A documented inspection and commissioning record helps confirm that the installed system matches the approved design and gives maintenance teams a reliable starting point.
Select a System and Plan Installation and Maintenance
A busway trunking system should match the building’s electrical load, route, and operating conditions. Confirm the required current rating, voltage, fault withstand, and enclosure protection with the project engineer. Then map the route against beams, pipes, and access panels. A neat line on a drawing can become awkward above a crowded ceiling.
Check support spacing, connection orientation, expansion points, and fire-barrier crossings before ordering sections. Allow room to inspect joints and remove covers later. Small details matter. For example, a busway routed behind fixed ductwork may pass commissioning but make routine checks difficult. Keep the design coordinated with structural and mechanical teams, and verify site dimensions before installation. Plans are rarely perfect.
Installation quality depends on the specified procedures and competent personnel. Follow the system’s installation instructions, including joint preparation, alignment, support requirements, and tightening values. Do not assume every section is interchangeable. Record test results and as-built route changes, since maintenance teams will need both. Before energizing, arrange the required inspection and electrical tests under the project’s applicable standards.
Plan maintenance access from day one. Set inspection intervals based on the equipment guidance, environment, and operating history. Look for loose supports, dust, corrosion, heat discoloration, or unusual noise. Qualified personnel can use suitable thermal checks under safe conditions. Keep isolation arrangements clear and label sections consistently. I would leave spare capacity only after reviewing realistic future loads; extra space can be useful, but it is not a substitute for sound load calculations.